
Reviewed · PEDRA DA GáVEA & PEAK HIKES
Pedra da Gávea | The best trail in Rio
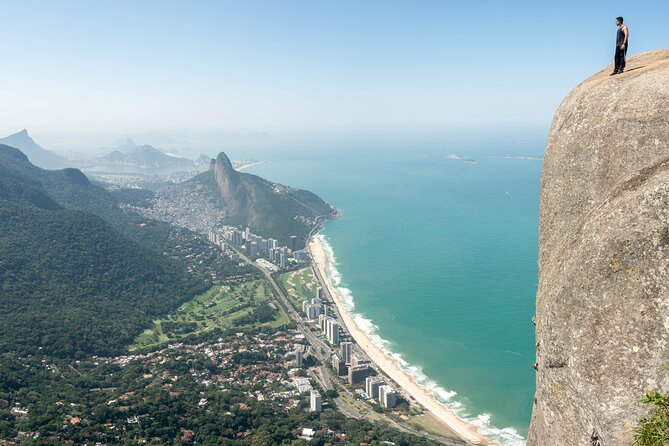
Pedra da Gávea is Rio’s best vertical challenge. This hike is a serious day in the mountains above Rio, with climbing and abseiling safety equipment and a guide who knows how to keep you safe while you chase the views. Expect a technical route, built for people who want more than a casual walk and want the kind of photos that only happen when you earn the angle.
I love how the experience blends effort with real guidance. From Jessie’s photo-minded coaching (she helped with angles, not just motivation) to Miguel’s calm leadership in rainy, foggy conditions, the guides keep the group moving and thinking. I also like that the day is structured around technical stops for rest, hydration, and photography, so you’re not just grinding until you’re wrecked.
The main drawback is simple: this is a difficult, medium-to-hard hike. You’ll want solid shoes, stamina, and comfort moving on technical terrain, especially if conditions turn wet.
In This Review
- Key Things You’ll Notice on This Pedra da Gávea Hike
- Why Pedra da Gávea Feels Like Rio’s Best Summit Day
- Getting There: The 8:00 AM Meeting Point Reality Check
- The Hike Plan: 3h30 of Technical Work on the Rock
- Stop at Pedra da Gávea: Where the Photos Really Happen
- Safety Gear and Abseiling: What’s Included, What’s on You
- Guide Style in a Small Group: Why Max 6 Matters
- Price and Value: What $70.57 Buys You (and What It Doesn’t)
- Weather, Shoes, and Stamina: Your Real Checklist
- Who Should Book This Trail—and Who Should Skip It
- Should You Book Pedra da Gávea With NMountain?
- FAQ
- How long is the Pedra da Gávea hike?
- What’s the difficulty level?
- What safety gear is included?
- Is photography included?
- Is transportation from my hotel included?
- Where is the meeting point and when does it start?
- How many people are in the group?
- Are drone photos included?
- What’s the cancellation policy?
Key Things You’ll Notice on This Pedra da Gávea Hike
- Small group size (max 6 travelers) for closer attention on a technical route
- 3,500 meters with about 3h30 hiking time inside a longer ~7-hour day
- Climbing and abseiling safety equipment included so you’re not showing up unprepared
- Photo and rest stops built into the hike so the views have a chance to be captured
- Not a hotel-pickup tour: you meet at Estr. Sorimã 932 in Itanhangá
- Drone photos cost extra (BRL 200 per pair), so budget if you want them
Bigger climbs: more Rio peak hikes we have logged
- Rio de Janeiro: Pedra da Gávea 7-Hour Hike★ 4.7 · 183 reviews
- Rio de Janeiro: Vidigal Favela Tour and Two Brothers Hike★ 4.5 · 121 reviews
- Rio de Janeiro: Dois Irmãos Peak Sunrise, Day or Sunset Hike★ 4.7 · 94 reviews
- Rio de Janeiro: Pedra da Gávea Guided Hike Tour★ 4.9 · 86 reviews
Why Pedra da Gávea Feels Like Rio’s Best Summit Day
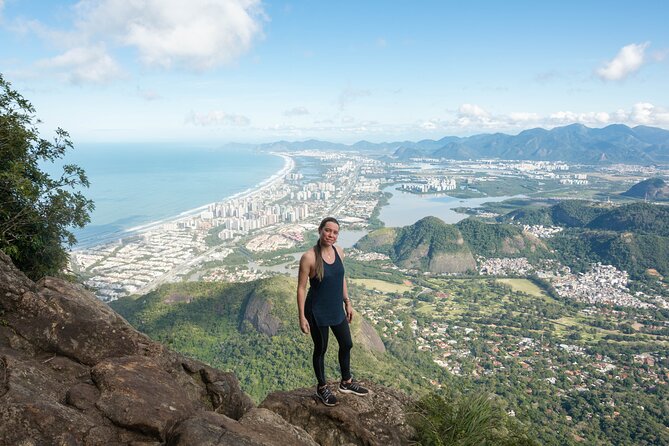
Pedra da Gávea sits above Rio like a natural fortress, and that’s why it’s famous with hikers. The rock and the route demand attention, not just legs. You’ll feel like you’re working your way up a skyline, not strolling through a scenic park.
The best part is the payoff. When the fog clears even briefly, you can get those sea-of-cloud moments that make Rio look unreal. Even if weather isn’t perfect, you still come away with a strong sense of accomplishment, and you’ll understand why the trail is considered one of Rio’s top experiences.
This tour leans into that “earn it” feeling. You do a technical trail with guidance and gear, and you get time to stop for water and photos instead of rushing past everything.
Getting There: The 8:00 AM Meeting Point Reality Check
This is a meeting-point tour, not a pickup-and-dropoff from hotels. You start at Estr. Sorimã, 932 – Itanhangá, Rio de Janeiro. Start time is 8:00 am, and the activity ends back at the same meeting point.
Why that matters: with a hike like this, you don’t want to arrive frazzled. Build in extra time, especially if you’re coming from Copacabana or Ipanema by Uber or public transport. One common mistake is treating the meeting point like a flexible meetup spot. It isn’t.
If you can, set yourself up like a local commuter: arrive early, confirm you’re at the right spot, and keep your phone charged for any last-minute messages. The tour confirmation process includes confirmation at booking, and communication may happen the day before, so use that window to double-check timing and details.
Also note: the meeting point is described as near public transportation, which helps. But “near” still means you should plan your route rather than gamble with timing.
The Hike Plan: 3h30 of Technical Work on the Rock
The hiking time is about 3h30 on a route roughly 3,500 meters long, and the full experience runs around 7 hours. That longer day includes the technical stops for rest, hydration, and photography, plus the time needed to move carefully on steeper or more technical sections.
Here’s how to think about the pacing. You’re not just walking uphill at a steady pace. You’ll spend part of the day managing your footing and your movement on rock. That’s why the time feels longer than a casual hike even when you’re physically “on the move.”
Technical stops are not filler. They help keep your energy steady and your focus sharp. You’ll likely need that when the trail gets awkward—wet rock, uneven footing, and steeper angles can drain you faster than you expect.
You reach Pedra da Gávea as the main event, and it’s the kind of summit where your effort shows right away. If fog rolls in, don’t assume the day is wasted. In rainy, foggy conditions, you might still catch clear moments for views, like a brief window opening over Rio.


Stop at Pedra da Gávea: Where the Photos Really Happen
Pedra da Gávea is the whole point of the tour, so your guide’s job is to get you safely to the best vantage spots. That includes timing stops so you can get photos without turning it into a rest marathon.
One big theme from guide feedback is that great photos aren’t just about having a camera. Jessie, for example, was praised for knowing the angles. That’s practical: when you’re on steep terrain and rock faces, your best shots depend on where you stand and how you frame the skyline.
The summit and surrounding rock also teach you a key lesson. On this hike, the views don’t feel like they are waiting for you. They show up because you’re willing to do the technical parts carefully and keep moving.
If conditions are wet, you’ll still get the experience, but you’ll need to slow down. Wet rock changes everything. Treat your footing like it matters—because it does.
Safety Gear and Abseiling: What’s Included, What’s on You
This tour includes climbing and abseiling safety equipment, and that’s a huge value point for a technical route. You’re not just getting a ticket and hoping for the best—you’re being outfitted with gear meant for this kind of terrain.
But the safety lesson doesn’t end at equipment. You still need to use it the way your guide instructs. Pay attention during the briefings. Keep a good gap between you and the person ahead when you’re moving on technical sections. And don’t rush because you want photos or because your group is quiet and moving fast.
Also, with a technical hike, confidence beats speed. If you feel tired in a tricky spot, it’s better to stop and reset your breathing than to force the next move.
The tour also states that you’ll use security materials when necessary, and the difficulty level is clearly marked as difficult. Treat that as a promise that the guide is prepared—but also treat it as a warning that you should show up ready.
Guide Style in a Small Group: Why Max 6 Matters
You keep the group small—up to 6 travelers—and that changes the whole feel of the day. On technical terrain, smaller groups mean the guide can watch your movement more closely. It also means you get more chances to ask questions while still keeping momentum.
The guide names you might encounter matter too because it reflects how personal the experience can be. Jessie was noted for both practical help and photo coaching. Miguel guided the group through rainy and foggy weather and still found views when the fog lifted. Thales was praised for motivating the group from start to finish and helping everyone optimize safety with the equipment and guidance provided.
Even if your guide isn’t one of those names, the pattern is consistent: strong guidance, real motivation, and a focus on doing it safely while still having fun on the mountain.
Price and Value: What $70.57 Buys You (and What It Doesn’t)
At $70.57 per person, this hike is not “cheap,” but it also isn’t trying to be a luxury product. The value is that you get safety equipment for technical climbing/abseiling, plus photography coverage, plus a guide who manages the pacing on a difficult trail.
What you should expect to pay for yourself:
- Private transportation / air-conditioned vehicle are not included
- Snacks are not included
- Drone photos and videos cost extra (BRL 200 per pair)
This pricing setup makes sense for a trail day like this. You’re paying for expertise, safety gear, and time on a technical route—not for a vehicle ride or a buffet lunch.
My practical advice: budget like this is an all-day activity. Bring your own snacks if you’re the type who gets hungry between hydration breaks. If you want drone shots, decide ahead of time so you’re not scrambling at the end.
Weather, Shoes, and Stamina: Your Real Checklist
Because the hike is marked difficult and the terrain is technical, your preparation matters more than usual. The biggest “common-sense” items are:
- Good shoes with traction (non-negotiable on wet rock)
- Stamina for a medium-to-hard hike
- Comfortable workout clothes that can handle humidity and possible rain
Weather can also change the feel of the climb. Rain and fog can make the route more challenging, but they don’t necessarily kill the day. In foggy conditions, you may still get breakthrough views when the weather shifts briefly.
A smart approach: plan for mixed conditions. If you start thinking like the trail is always “dry and easy,” you’ll be uncomfortable. If you start thinking like the trail can be wet or slick, you’ll adapt faster.
Who Should Book This Trail—and Who Should Skip It
This hike is best for you if you:
- Have strong physical fitness
- Like hikes with real terrain challenges (not just scenic viewpoints)
- Want expert safety gear and a guided climb that still gives you room to breathe and photograph
- Are ready for a technical experience where careful movement matters
You should think twice if:
- You’re not comfortable on uneven rock or moving carefully while tired
- You don’t have good shoes or stamina
- You prefer tours with minimal effort and low risk of getting uncomfortable on the trail
If you’ve done some hiking before and want the next step up, Pedra da Gávea is a great fit. If you’re aiming for a relaxed morning, choose something else. This one asks more of your body and focus.
Should You Book Pedra da Gávea With NMountain?
I’d book this if you want a top Rio hike that feels like an adventure, not just a view stop. The biggest reasons are the technical safety setup (climbing and abseiling gear included) and the way the day is run with rest, hydration, and photo stops instead of nonstop pressure.
Just be honest about two things. First, you need the fitness and shoes for a difficult, technical trail. Second, plan for a meeting-point start at Itanhangá; don’t leave timing to chance.
If you do those two things well, you’re set up for one of the most memorable mountain days in Rio—especially when the fog lifts and the rock earns its reputation.
FAQ
How long is the Pedra da Gávea hike?
You’ll hike for about 3 hours 30 minutes on a route of roughly 3,500 meters, with a total experience time of about 7 hours.
What’s the difficulty level?
The trail is labeled as difficult and is described as a medium-to-hard hike that requires good stamina and solid hiking shoes.
What safety gear is included?
The tour includes climbing and abseiling safety equipment for the technical sections.
Is photography included?
Yes. Photography is included as part of the experience.
Is transportation from my hotel included?
No. Private transportation and air-conditioned vehicle are not included. You meet at Estr. Sorimã, 932 – Itanhangá.
Where is the meeting point and when does it start?
The meeting point is Estr. Sorimã, 932 – Itanhangá, Rio de Janeiro – RJ, 22611-030. Start time is 8:00 am. The tour ends back at the same meeting point.
How many people are in the group?
This activity has a maximum of 6 travelers.
Are drone photos included?
No. Drone photos and videos cost BRL 200 per pair and are not included.
What’s the cancellation policy?
You can cancel for a full refund if you cancel at least 24 hours before the experience’s start time. Free cancellation is offered under that condition.
More Tour Reviews in Rio de Janeiro




More Peak Hikes Above Rio



Fresh off the review desk: newer Rio de Janeiro tours we have been out on




Pedra da Gávea & Peak Hikes, compared.
 ★ 5.0Sunrise and Sunrise Walk Two Brothers with Local GuideFrom $64193 reviews
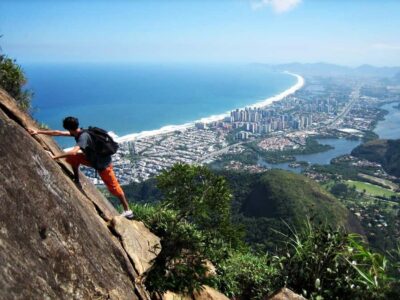 ★ 4.7Pedra da Gávea 7-Hour HikeFrom $56183 reviews
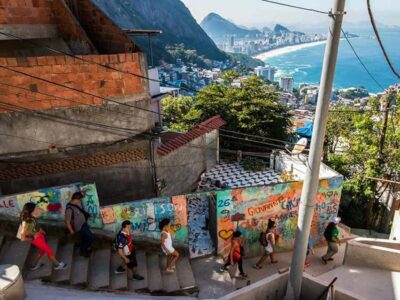 ★ 4.5Vidigal Favela Tour and Two Brothers HikeFrom $88121 reviews
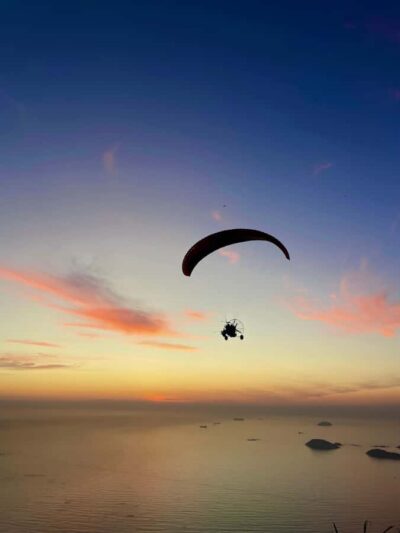 ★ 4.7Dois Irmãos Peak Sunrise, Day or Sunset HikeFrom $5494 reviews
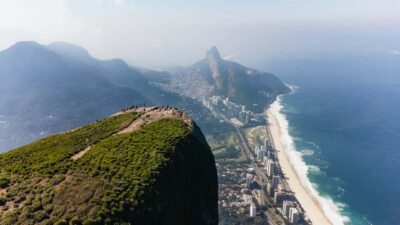 ★ 4.9Pedra da Gávea Guided Hike TourFrom $6886 reviews
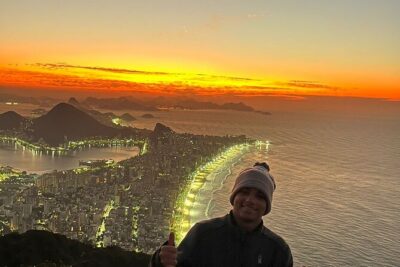 ★ 5.0Sunrise at Morro 2 Irmãos – Vidigal – Rio de JaneiroFrom $5780 reviews
 ★ 4.9Tijuca National Park Small-Group Hike to Pedra BonitaFrom $6379 reviews
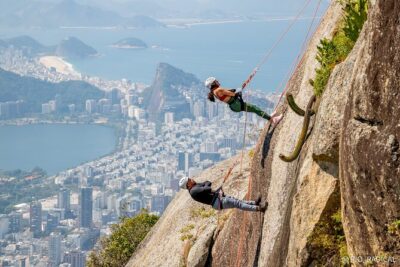 ★ 5.0Trail and Rappel on Morro Dois IrmãosFrom $8577 reviews
Browse the lists this tour appears in